
Sourdough Starter – Making and Maintaining
I can’t believe that I have been adding so many recipes to this site, and have yet to add how to make and maintain a sourdough starter!
For those of you just getting started in sourdough, know that there are many different ways to start and maintain a sourdough starter, this is merely my preferred method that I have found success with. I occasionally refer to my method as ‘lazy sourdough’, as I put in as little effort as possible, and also try to waste as little sourdough discard as possible.
Every sourdough starter is a bit different, depending on your environment and ambient temperature, but I will attempt to provide enough information so that you can be successful!
And don’t worry, I’ve got you covered if you’re looking for recipes for your sourdough starter, or the discarded leftover starter.
Enjoy my recipes and patterns and want to support my site? Want to get a gift for yourself or others at the same time? Check out my Shop! New patterns, supplies, and goodies added regularly.

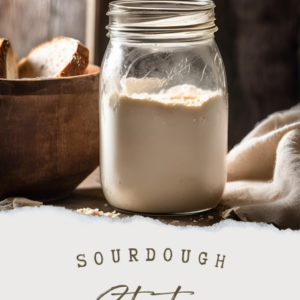
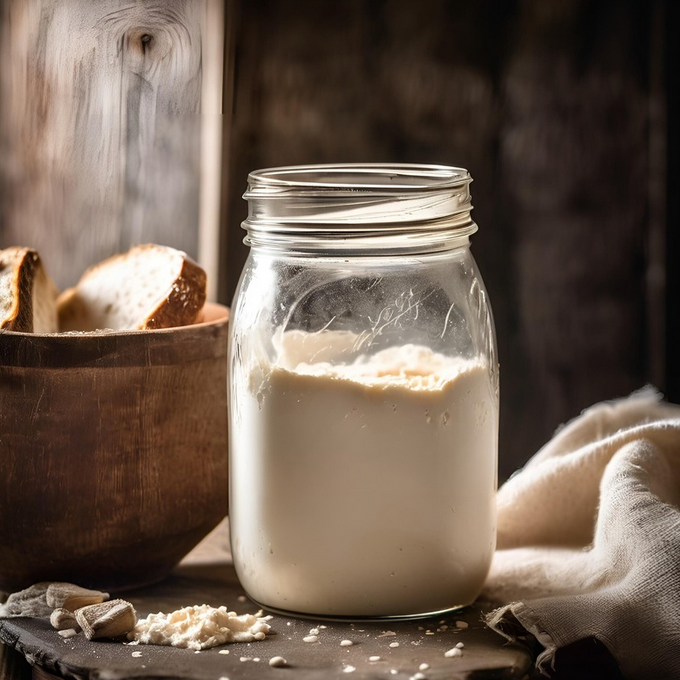
Sourdough Starter
Equipment
- mason jars (1 quart)
Ingredients
- rye flour or whole wheat flour
- all-purpose flour
- water filtered
Instructions
Creating the Sourdough Starter
- Day 1: Add 60 g of rye flour, and 60 g of water to your mason jar (or other jar). Mix to combine, you should have a thick consistency. Cover loosely with a cloth and allow it to rest in a warm spot for 24 hours.
- Day 2: Check for bubbles. At this stage you may not see anything, or only small pinprick sized dots. Bubbles indicate that the fermentation process has begun. Allow it to rest for another 24 hours.
- Day 3: Now is the time to start the feeding process, even if bubbles are not yet appearing. Remove and discard approximately half of the starter (I just go by eye and don't worry about measuring at this point). The texture should be thick and stretchy like a wet dough. Add 60 g of all-purpose flour (all feedings from this point on will be all-purpose flour, the rye is merely to begin the fermentation) and 60 g of water. Mix until smooth. The texture should be similar to a thick batter. Cover loosely and allow to rest for another 24 hours.
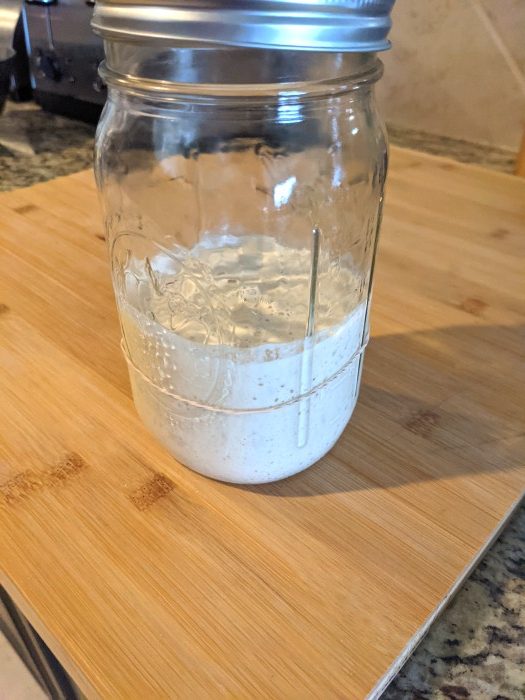
- Days 4-6: Repeat the feeding process as described for Day 3. When you mix the batter, add a rubber band to your jar to match the level of your starter. This will assist in seeing the changes in volume as the starter rises. You should begin to see your starter rising and bubbling on the surface, as well as bubbles appearing deeper within the culture. When the starter falls, it is time to feed it again. Once you notice your starter rising to double the feeding volume (the same volume above and below the rubber band) then you are ready to go into the maintenance phase, as well as using your starter for bread making.
- Tip: You know that your starter is fully active and ready for baking, when you can add a spoonful to a small cup of water and it floats.
Maintaining the Sourdough Starter
For Frequent Baking
- You may wish to maintain your starter on the countertop all of the time, feeding once a day (or twice a day in warmer climates). The feeding is the same as when creating the starter: discard half of the sourdough starter and add 60 g of all-purpose flour, and 60 g of water, mix, and allow to rest and rise.
For Infrequent Baking (~ Once per week)
- This is the method I typically use, as with it only being my husband and I, we realistically only need one loaf per week.
- Feed the sourdough starter in the standard way: Discard half of the starter, add 60 g of all-purpose flour and 60 g of water. Add directly to the fridge (do not worry about allowing it to rise). Loosely cap the mason jar. Note: The fermentation process still continues in the fridge, though at a slower rate. It is still possible for pressure to build up and explode the jar if left for too long, so don't seal the jar too tightly.
- One to two days before you're ready make a bread, bring your starter out of the fridge and feed as normal. It will rise slower the first feeding as it reacclimates to the temperature. Usually the second feeding after removal from the fridge is adequate to feed before baking.
- After adding the sourdough starter to your recipe (as it's still fairly active) I usually add it directly back to the refrigerator without an additional feeding.
- If you are not baking at least once per week, you should still feed the sourdough starter once per week to keep the yeast culture active and happy, as well as to prevent too much of a hooch layer from building up (see note).
Notes
- Waste not! Save your sourdough discard in a jar in your fridge, there are many recipes for inactive (or unfed) sourdough starter that are absolutely delicious.
- This discard jar can also be a failsafe – should something ever happen to your starter (left out too long, mold forms, or you just run out after a large recipe) you can typically feed your discard jar for a couple of days and recover much faster than completely starting over!
- The fermentation process will continue even in the fridge, and may become remarkably sour. I usually clean out my discard jar once per month to make sure that no mold forms, and my discard recipes do not become overly soured.
- What is that liquid I’m seeing on top of my starter? That’s hooch! An alcohol byproduct of the fermentation process. If you want an extra sour starter you can simply mix the hooch back into the starter and feed as normal. If you are concerned about it, you may pour it off (make note of how much you pour off) and replace the volume with water.
- I see fuzzy green or brown patches on top of my starter? That would be mold – unfortunately this can happen. At this point either recover your starter from your discard jar, or start fresh. Do not risk getting sick.
- How long can I keep a starter going? – Feeding my starter once per week, and refrigerating most of the time. I have kept my sourdough starter going for about 1.5 years (so far!). I have only had to recover from my discard jar once after an especially hot day and an open window introduced something to my starter. It’s almost like keeping a pet! (Mine is named Clint Yeastwood)


Smoked BBQ Pork Ribs

Irish Potato Bread
You May Also Like

In the Garden – September

Reese’s Pieces Peanut Butter Cookies