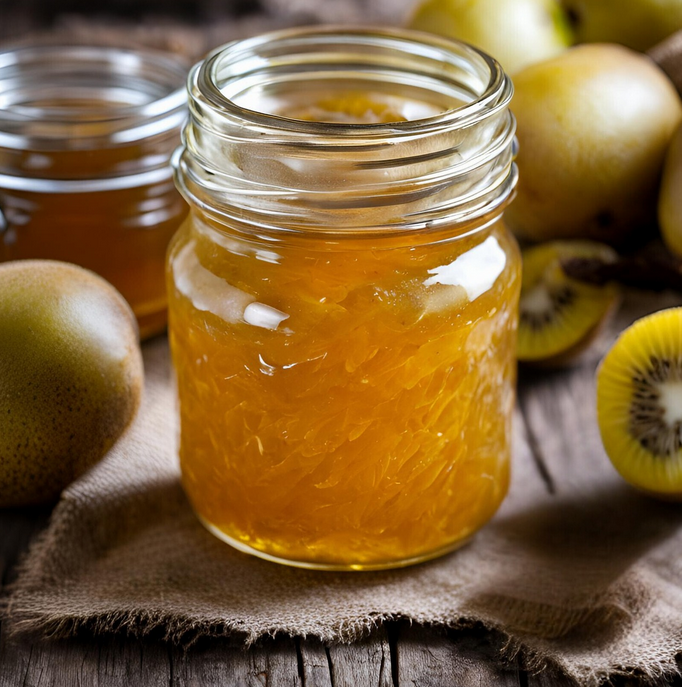
Golden Kiwi Preserves
Golden kiwi is probably my favorite fruit, hands down. It’s sweet, tart, and I can slice it in half and eat it with a spoon. The only downside is that it’s not consistently available, so when it is, I tend to go crazy eating as much of it as I can!
In an attempt to extend the golden kiwi season, I decided to try preserving it and I have to say, this is now my favorite preserve ever! My husband’s too! This recipe is designed for water bath canning, and can be cut down to as small as 1/3 of the recipe depending on how much fruit you have available. Once preserved, if sealed and stored properly, the preserves are good for one year.
Please note that this is not a tutorial on water bath canning, food preservation, or canning safety – do your research and be safe about food preservation.
Recipe based on Mrs. Wheelbarrow’s Practical Pantry: Straight-Up Preserves with Any Fruit
Equipment I Use:
As an Amazon Associate I earn from qualifying purchases.
Enjoy my recipes and patterns and want to support my site? Want to get a gift for yourself or others at the same time? Check out my Shop! New patterns, supplies, and goodies added regularly.

Golden Kiwi Preserves
Equipment
- water bath canner
- colander/strainer
- mixing bowl
- thick bottomed pot 5 quart for full batch, 3 quart for half
- candy thermometer
- 8 quarter pint mason jars (or 4 half pint)
Ingredients
- 3 lb golden kiwi peeled and cut into bite size pieces
- 3 cup granulated sugar
- 1 lemon juiced
Instructions
- Place the kiwi in a large bowl with sugar and lemon juice. Stir thoroughly and slightly mash the kiwi with the sugar.
- Cover and place in the refrigerator to macerate (soften and form syrup) for anywhere between 2 and 48 hours (I typically do this step overnight). Place several small plates in the freezer to test the set later.
- Place the fruit mixture into a strainer over your cooking pot and allow the syrup to drip for at least 20 minutes, stirring occasionally to release additional syrup. Place the strainer of fruit over a bowl to catch any additional syrup. This is a good time to start sterilizing your jars and lids in a water bath if you haven't yet done so.
- Turn the heat of your cooking pot on high, clip on a candy thermometer, and bring the syrup to a steady boil. The mixture will foam quite heavily so stir well and often, monitoring to prevent boil over. When the foam clears at 220℉ (approximately 8-10 minutes) add the fruit from the colander and any additional syrup from the catch bowl and bring to a foamy boil (10-20 minutes depending on quantity of fruit). Continue stirring frequently to prevent burning.
- As you boil, watch for the preserves to begin to set. There will be a hardy boil that will not stir down (will continue to boil vigorously as your stir), you may hear popping along the bottom of the pot, the bubbles will be more gel-like and syrupy, and any fruit chunks that were previously floating should now sink in the syrup mixture. When the foam has almost completely cleared remove the pot from heat and let sit for a couple minutes before spooning some onto a frozen plate to test the set (see notes). If needed, return to heat and continue cooking on high in 2-3 minute increments.
- Stir well and ladle preserves into the jars leaving a ½ inch headspace. Clean the rims of the jars well and cover, finger-tightening the rings.
- Lover the jars upright into the boiling water of the water-bath canner, having the jars covered by at least 1 inch of water. Process for 10 minutes starting from when the water comes back to a vigorous boil.
- Remove jars from the canner and allow to cool, listening for pings to indicate the jars have sealed. Allow to cool for 12 hours before testing seals, washing jars, labeling, and storing.
Notes
- Testing the set – place a spoonful of preserves on frozen plate and let cool. Pressing the preserves with a finger should slightly wrinkle the top, and sliding a finger through it should leave a clean line to the bottom of the plate that doesn’t fill back in.
- To remove seeds as shown in the image, process fruit after maceration through a fine screen or food mill. (Honestly, it’s pretty, but I didn’t find it worth it so I usually just leave in the seeds)


Crock Pot Shredded Beef

Refrigerator Pickles
You May Also Like

Cast Iron Tater Tot Hotdish (Casserole)
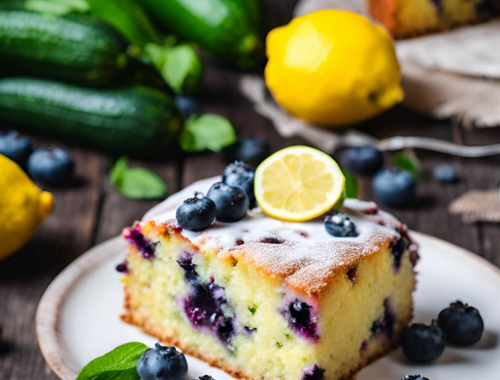
Blueberry Lemon Cake – with Zucchini